Kollus Uploader (Bulk)
This document is a machine-translated draft and is currently undergoing review. Some content may be inaccurate or differ from the original Korean version. For the most precise information, refer to the Korean documentation.
- PlanEnterprise
Kollus Uploader is a dedicated desktop program for Kollus VOD that reliably uploads large volumes of content files. It supports both Windows and macOS operating systems.
Step 1: Install the Uploader
Check the specifications of the operating system you are using and proceed with the installation.
| Operating System | Minimum Requirements | Installation File |
|---|---|---|
| Windows |
| Download for Windows |
| macOS |
| Download for macOS |
Step 2: Sign in to the Uploader
- Launch Kollus Uploader.
- When the sign-in panel appears, enter your sign-in information.
Item Description Main Node The node of your workspace (e.g., KR) E-mail Your Kollus VOD console sign-in account API access token Where to find: Kollus VOD console > [Settings] > [API] Save log in info If checked, automatic sign-in is applied from the next launch Advanced Must be enabled to use the Passthrough upload feature 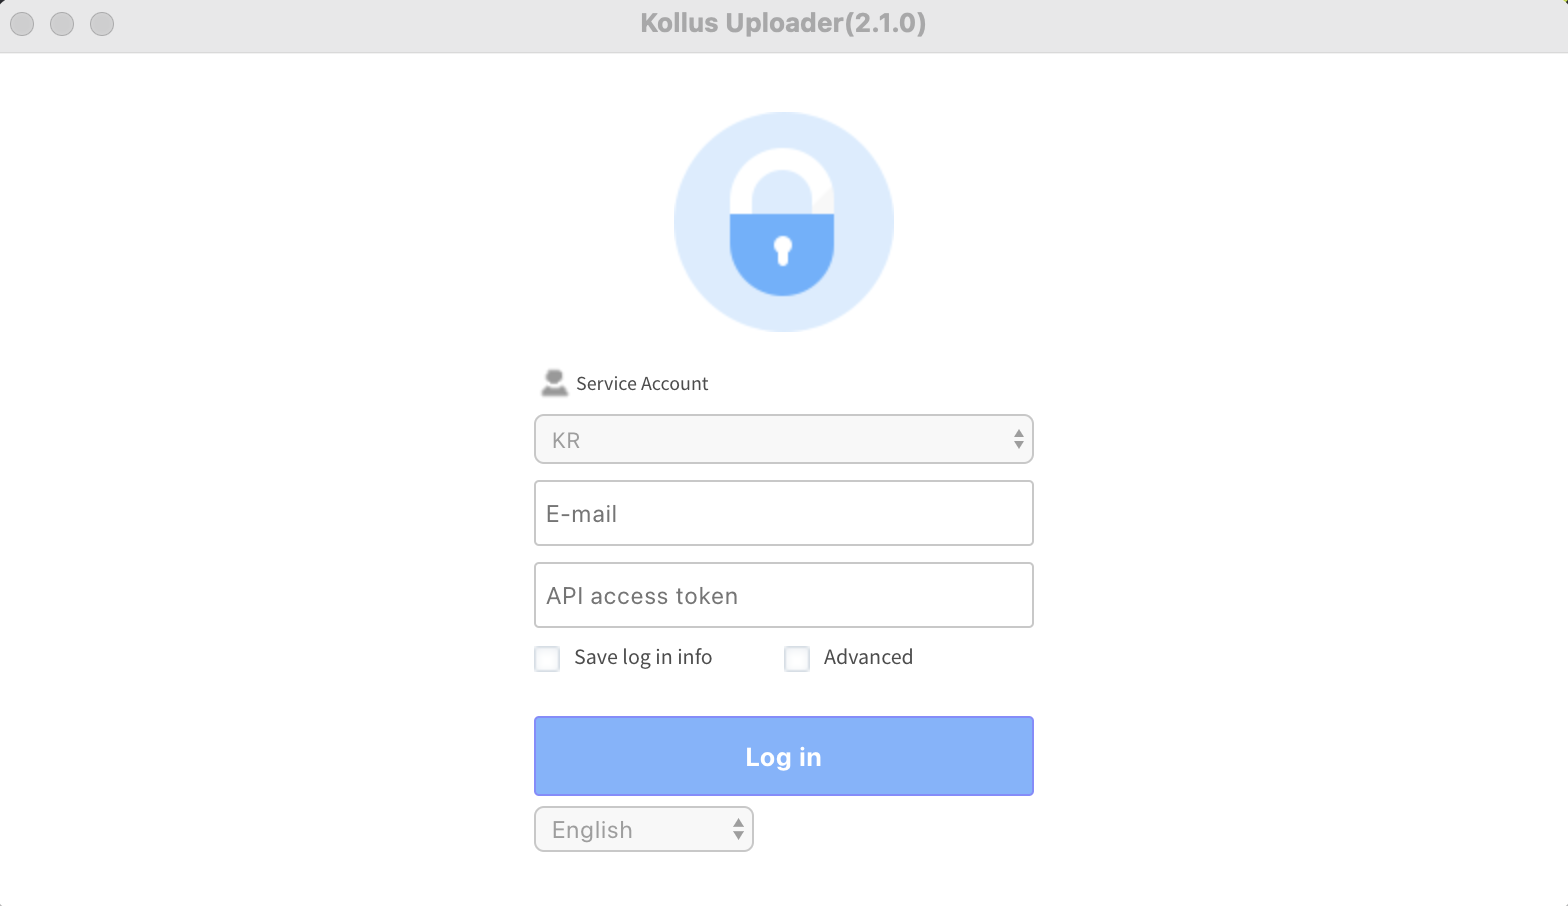
- Upon successful sign-in, the program automatically connects to the FTP server.
Step 3: Upload files
Configure upload options and add files on the main screen.
- Select the upload options. Please contact your Account Manager to activate upload options.
Option Description Media Type Select the format of the file to upload. Encryption Applies DRM security so that only authorized users can play the content. Category Specifies the category to which the content will be automatically registered. Passthrough A method of servicing the content in its original specifications without additional encoding. (Refer to the Passthrough settings guide section) - Drag and drop files into the upload area, or click [Select file] to select files.
- File Name Emoji Restriction: Files with emojis in the file name cannot be uploaded.
- Supported File Extensions: Only files with the following extensions can be uploaded. Unsupported file formats are automatically excluded from the upload list or fail to upload.
- Video:
.3gp,.asf,.avi,.flv,.webm,.m2v,.m4v,.mov,.mp4,.m2ts,.mkv,.mpeg,.mpg,.mts,.mxf,.ts,.wmv,.m2t,.tp - Audio:
.ac3,.aac,.flac,.mp3,.wma
- Video:
- Once everything is ready, click [Upload].
Passthrough settings guide
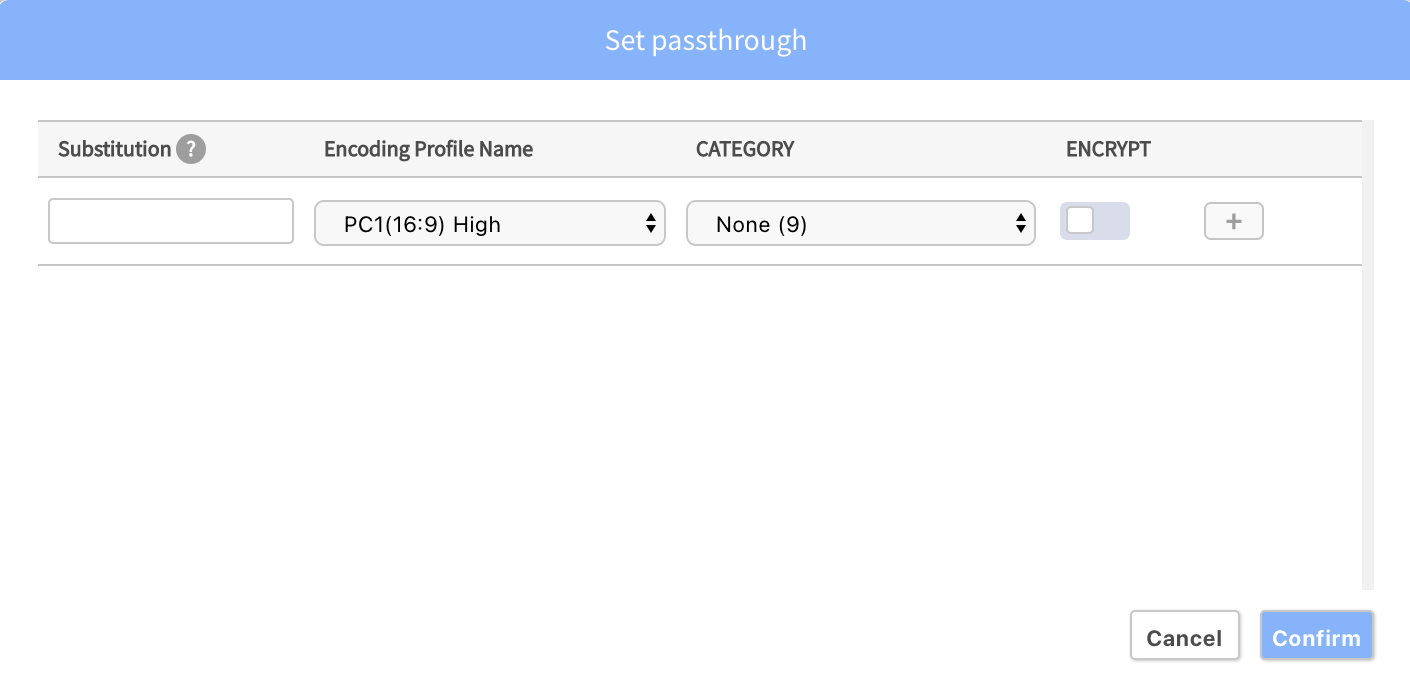
The Passthrough feature allows you to immediately provide streaming service using the uploaded original file as-is, without a separate encoding process. This feature is useful when you want to preserve the original video quality.
Upload method
- Priority: The category and encryption options in the Passthrough settings take precedence over the default console settings.
- Rule mismatch: Files that do not match the configured wildcard conditions are processed using standard encoding instead of Passthrough.
- Duplicate handling: You can upload files while preserving the local folder structure, and the system automatically filters out duplicate files in the queue.
Depending on your management purpose, you can choose one of two methods to configure.
Method 1: Single file upload
Used when servicing a single-resolution file independently.
- Configuration method: In the Passthrough settings window, leave the wildcard field empty and specify only the encoding profile.
- How it works: The uploaded file name is preserved as-is, and each file is registered as an individual content item in the system.
Method 2: Wildcard-based combined upload
Used when building a multi-bitrate environment where the video quality automatically adjusts to the viewer's network conditions.
- Configuration method: Enter a wildcard rule to recognize a specific pattern in the file name.
- How it works: When files of multiple resolutions (e.g., 360p, 720p) are uploaded, the system recognizes them as the same content and manages them together under a single content ID.
- Example: If
A_360.mp4andA_720.mp4are uploaded at the same time, the system recognizes them as the low-quality and high-quality versions of contentAand builds a multi-bitrate environment.
- Example: If
- Wildcard rules: A wildcard identifies and removes a variable string in the file name, grouping different files together as one. The
*character represents the variable string.Rule Description Application Example *_720pRemoves the _720ptext at the end of the file namepart1_720p.mp4→part1.mp4_720pRemoves the first occurrence of _720ptext in the file namepart1_720p_v2.mp4→part1_v2.mp4