Category (Content Classification) Settings
This document is a machine-translated draft and is currently undergoing review. Some content may be inaccurate or differ from the original Korean version. For the most precise information, refer to the Korean documentation.
Category is a logical unit for classifying the vast amount of content stored in the library by topic, purpose, or target audience. By strategically organizing categories, you can go beyond simple asset management and achieve workflow automation that automatically registers videos to specific distribution channels upon upload.
Category management overview
A predefined category structure is convenient when operating large-scale media assets.
- Tree structure: Supports a tree structure of up to 5 levels, from broad classifications to detailed sub-classifications, enabling precise categorization.
- Auto-register to channel: By linking a category to a channel in advance, content uploaded to that category is immediately registered to the designated channel.
Create a new category
Here is how to build a content classification structure and apply distribution automation rules.
Create a top-level category
- Go to Kollus VOD console > [Library].
- Click [Add (+)] at the top of the category list on the left.
- Enter the name of the category to create. (e.g., Math Lectures, Promotional Videos, etc.)
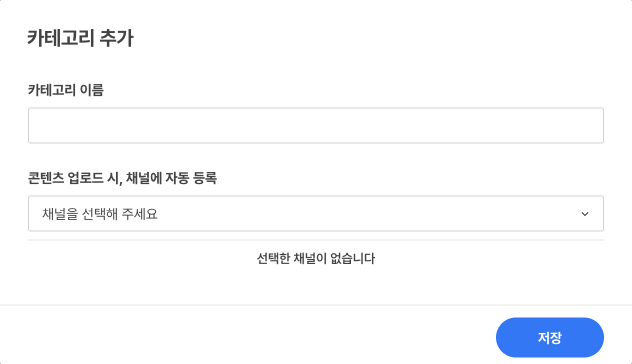
- Auto-register settings (Optional): To immediately register content uploaded to this category to a designated channel, select the target channel under [Automatically register in the channel when uploading content].
Prerequisites
To use the auto-register feature, the channel to which content will be distributed must be created in advance. If you have not yet created a channel, refer to the documentation below to create one.
- After completing all settings, click
[Save].
Configure child categories
If more specific classification is needed, you can add a new category under an existing category.
- Go to Kollus VOD console > [Library].
- In the category list on the left, click [More options (⋮)] > [Add subcategory] to the right of the target category.
- Enter the name of the child category.
- Auto-register settings (Optional): To immediately register content uploaded to this category to a designated channel, select the target channel under [Automatically register in the channel when uploading content].
Prerequisites
To use the auto-register feature, the channel to which content will be distributed must be created in advance. If you have not yet created a channel, refer to the documentation below to create one.
- After completing all settings, click [Save].
Edit and manage categories
You can change category names or modify auto-register rules to suit your operational needs.
- Go to Kollus VOD console > [Library].
- In the category list on the left, click [More options (⋮)] > [Edit category] to the right of the category you want to edit.
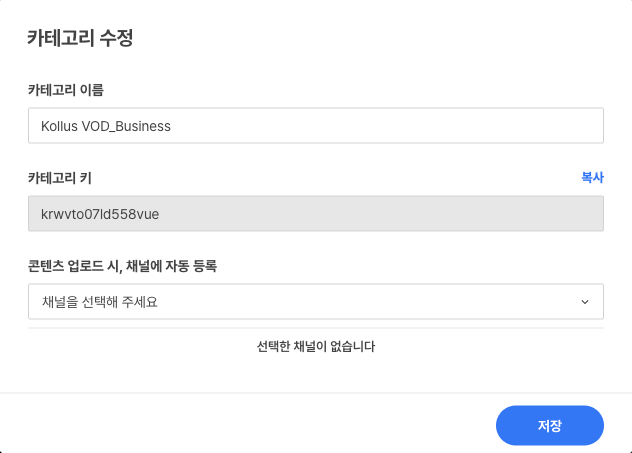
- In the category edit window, you can manage the following information.
- Change category name
- View and copy category key: The category key is a unique identifier for the category used in system integration.
- Change distribution policy: You can change or remove the channel to which content is automatically registered upon upload.
Delete a category
You can delete categories that are no longer in use. Please be sure to review the following policy to ensure that content located in that category is not lost upon deletion.
Even if a category is deleted, the actual files are not deleted. Their location is reassigned according to the tree structure as follows.
- When deleting a mid-level category: Content and child categories that were contained in the deleted category are moved up one level to the parent category.
- When deleting a top-level category: All content belonging to it is safely moved to the 'Default' category, which is the system's default folder.
- Go to Kollus VOD console > [Library].
- In the category list on the left, click [More options (⋮)] > [Delete category] to the right of the category you want to delete.
- Review the guidance message in the deletion window, then click [Delete].